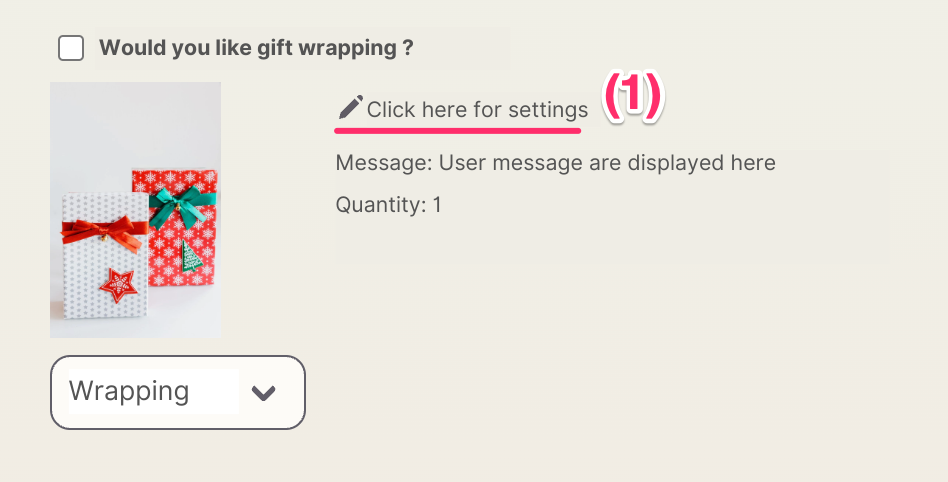
Widget page settings and product configuration
This page explains how to set up pages where the widget will be displayed and how to configure products that users can select.
Widgets can be controlled on a page-by-page basis, including cart, product, and checkout pages.
There are two types of widgets: standard and modal, with different configuration options for each. We recommend adjusting settings while checking the actual widget behavior in the store preview.
Page settings
Gift option display settings
Steps:
- Go to [Widgets] > [Page settings].
- Check the pages where you want to display gift options and set them to enabled (or disabled).
Page-specific settings
Steps:
- Go to [Widgets] > [Page settings].
- You can set widget display conditions from the [Manage] link in [Page settings].
Filter settings
By configuring products and collections, you can set detailed conditions for when the widget appears on each page.
| Page | Description |
|---|---|
| Cart page | Filters are applied to products in the cart. For example, if you set “Sample Product” on the whitelist, the widget will only appear when “Sample Product” is added to the cart. |
| Checkout page | Works similarly to the cart page. |
| Product page | Filters are applied to the product being viewed. |
Checkout page settings are a feature exclusive to Shopify Plus users.
Cart addition settings
You can change how option products are added to the cart.
Quantity
You can change the quantity of option products added.
Do not add optional products
When enabled, this only adds option information to the main product without adding the option product to the cart.
This is useful when the option product is free or when you don’t need to worry about quantity.
Add properties
Steps:
- Go to [Widgets] > [Page settings].
- You can set widget display conditions from [Page settings] > [Manage] link.
You can add custom properties (LineItem Properties) when option products are added to the cart. Enter them in the format {key}:{value}.
Product settings
This section mainly explains how to set up option products. The configurable items differ depending on the widget type. We’ll explain for both standard and modal types.
Setup option products for Standard gift options
- Display the [Widgets] > [Product settings] item.
- Click [Select] to choose products.
- Click the [Settings] button for products you want to configure in detail.
Setup optional products for Modal-style gift options
The product selection process is similar to the standard type. However, for modal gift options, you can’t configure settings per product. Settings apply to all option products.
- Display the [Widgets] > [Product settings] item.
- You can move to [Modal Settings] by clicking [Edit].
Settings available only for Modal-style
In [Widgets] > [Product settings], you can change the text that launches the modal when clicked under “Description”.

This text can use variables similar to the “Description” in [Widgets] > [Common settings]. For details on variables, please refer to the following.

Setting examples and usage
Here are some common use cases and how to configure them. I hope you find them helpful.
Displaying gift options only for specific products on product pages
- Open [Widgets] > [Page settings] and enable settings for product pages.
- Click [Manage] and select products from the filter settings.
Gift options will only appear on the specified product pages.
Displaying gift options on cart pages when specific products are included
- Open [Widgets] > [Page settings] and enable settings for cart pages.
- Click [Manage] and select products from the filter settings.
Gift options will only appear when the specified products are in the cart.
Adding additional information as properties to option products
- Open [Widgets] > [Page settings] and enable settings for product pages or cart pages.
- Enter additional information in the format
{key}:{value}from “Add properties to options” in [Cart addition settings].
For example, to add the information “Special Wrapping: Yes”, enter Special Wrapping:Yes. This will add the specified property when the option product is added to the cart.
It’s useful to set properties to distinguish whether an item was added as a gift option or as a single item (directly added to cart from the product page), or to mark products that need special handling.
Also, if the widget is removed or product settings are changed, it might become unclear which items were purchased as options. Adding properties makes it easy to identify these items even after such changes.
Conclusion
Were you able to set up the desired gift options?
We hope you can use the app to accommodate various gift option patterns by combining page settings and product settings.
Some stores using the app set up products that aren’t gift options. We also receive inquiries about managing options collectively, so we’ll continue to add features that can be used for purposes beyond gifts. If you “couldn’t set it up properly” or “couldn’t achieve the desired behavior” even after reading this article, please feel free to contact us with your questions and requests via the inquiry form.
Thank you very much for reading to the end.
